Barbarossa Guitars

Fine Hand-made Guitars

HomeSpecialsPictures Pricing & Policies Your Custom GuitarCustomize Neck

Sound SamplesTestimonialsContact MeMeet the BuilderWood ChoicesLinks


Building a Violin - The Belly (Top)


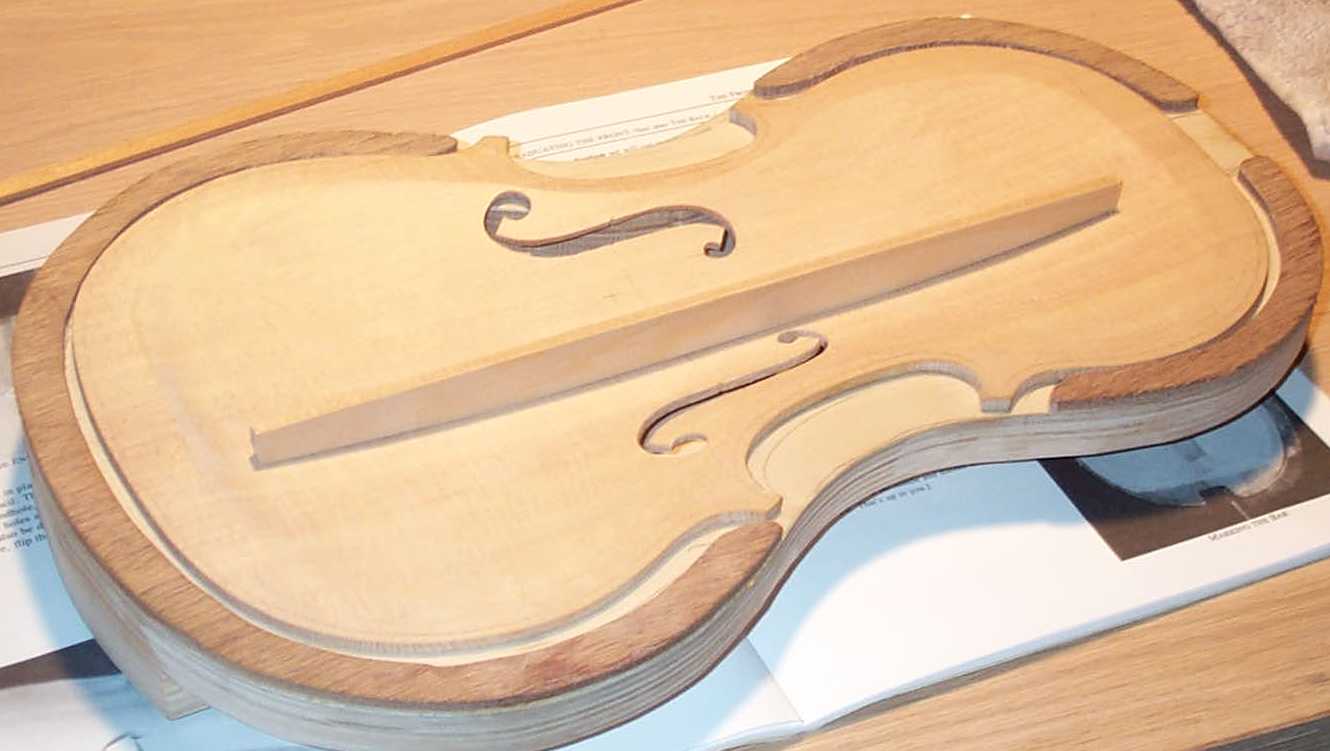
This page shows the steps in making the belly (top).


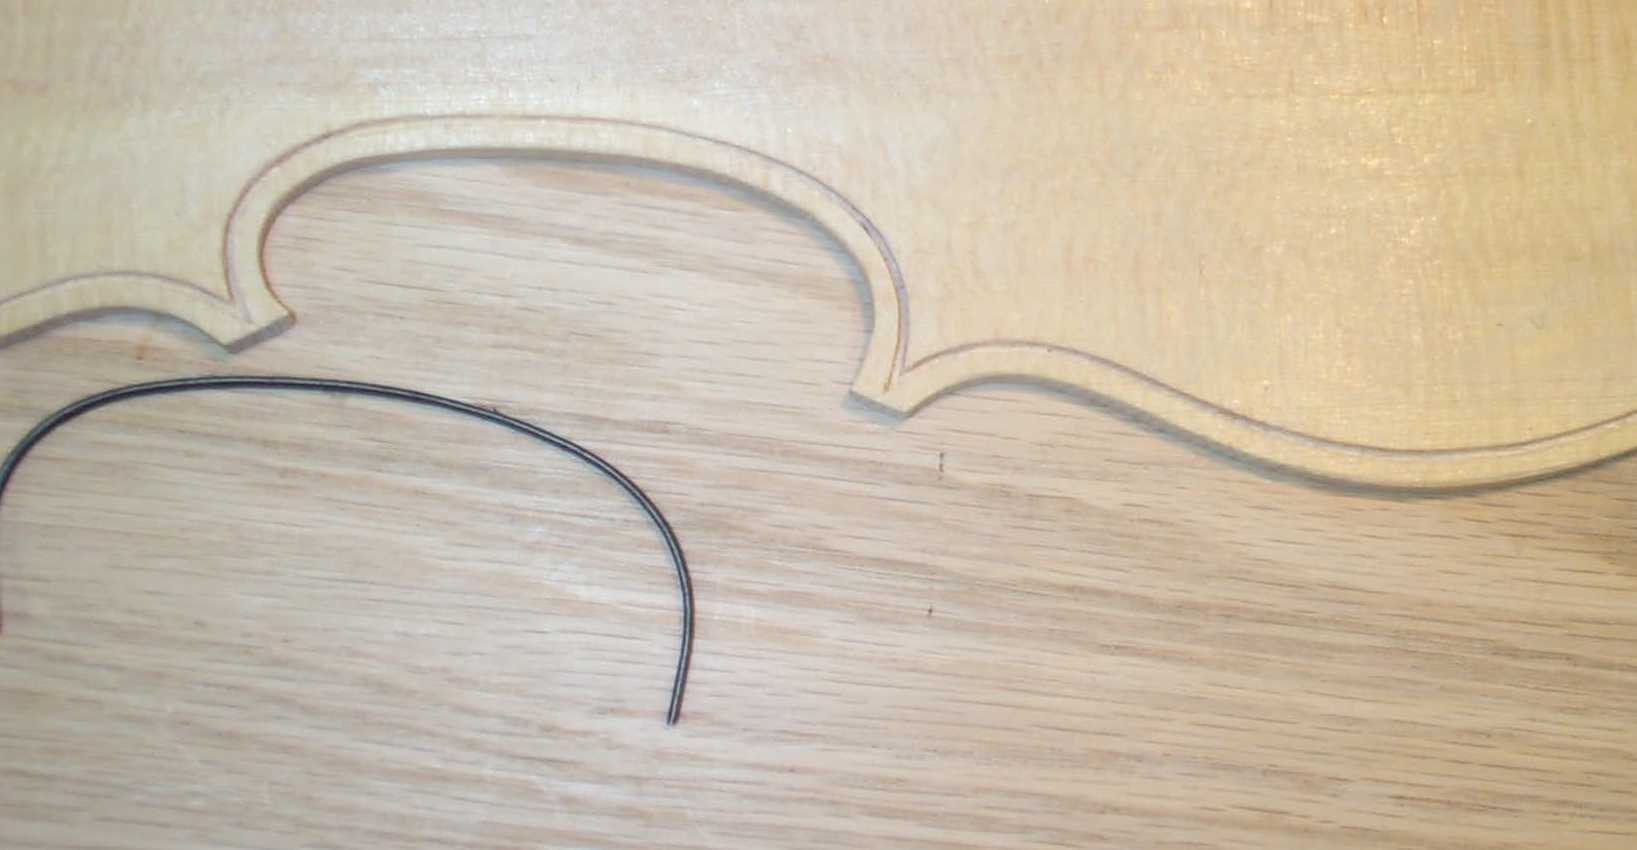
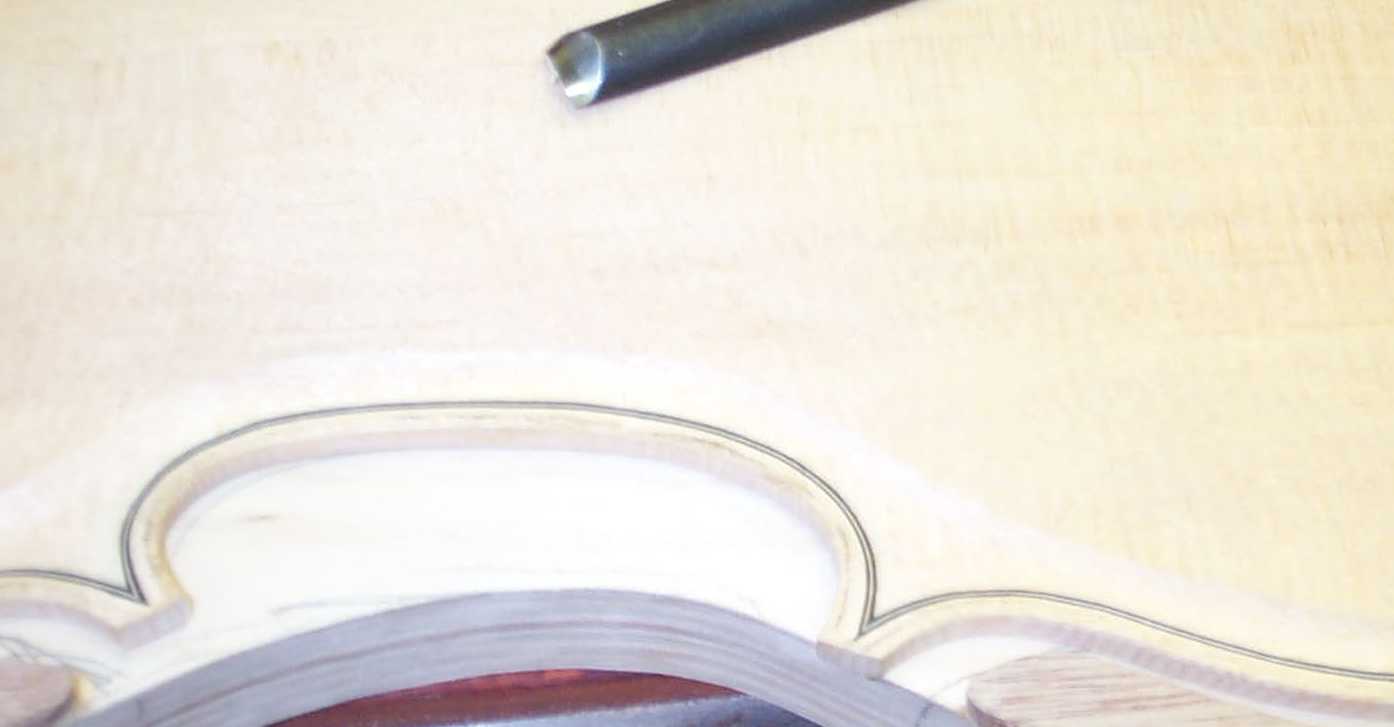
What I don't show is joining the top plate.  You can get an idea of that looking at my guitar page for the top.

Before the belly shaping begin, one traces the outline of the ribs onto the belly plate so it will match the ribs.

Then you cut the "ledge" around the outside of the outer surface of the belly.  This is slightly thicker than the final roll edge.


Rough arching the arch forms The top, rough carved The top, arched.  The edges are left until after the purfling has been added


Like the back, the top is drilled to define the rough internal shape The top, hollowed with gouge and plane Hollowed with scrapers


Purfling grooves cut Purfling glued in Final edge carving (the "groove")


F-holes marked First f-hole cut The f-holes


Rough fit of the tone-bar Gluing the tone bar Final shape of the tone-bar


Violin MakingViolin BackViolin RibsViolin Belly (top)Violin NeckViolin AssemblyViolin Final Steps


Copyright 2025, James W. Blilie, Barbarossa Guitars                           This page was last updated:  26-Nov-2025